Did you know you could connect to D-STAR reflectors on an Icom 705 using terminal mode through a Raspberry Pi? This tutorial will show you how to do it without needing a hot spot or MMDVM board.
Video
In addition to this written tutorial, I’ve also recorded a step-by-step video showing how to do all of this.
Gear needed
To get started, you will need the following hardware.
(Note: Some of these links are affiliate links (Amazon) that support my website and content creation at no additional cost to you.)
- Icom IC-705 QRP HF/VHF/UHF portable radio: Amazon | DXE | GigaParts | HRO | MTC | R&L
- Raspberry Pi: Pi Zero 2W | Pi 4 (2GB) | Pi 4 (4GB) | Pi 4 (8GB) | Pi 5 (2GB) | Pi 5 (4GB) | Pi 5 (8GB)
- Raspberry Pi case: Pi Zero 2W | Pi 4 | Pi 5
- Power Supply: Pi Zero 2W – 2.5 amp | Pi 4 – 3.5 amp | Pi 5 – 5.0 amp
- Memory Card: SanDisk 32GB Ultra microSDHC UHS-I
- Card reader: Anker USB 3.0
- USB-A to micro USB cable with ferrite choke
Pi-Star
The first thing we need to do is download and install the Pi-Star software on to the Raspberry Pi. Please understand that when you install Pi-Star it will wipe out everything on your microSD card. If you just want to experiment it might be a good idea to buy an extra microSD card so you don’t lose your existing data.
You can get the Pi-Star software from their website:
https://www.pistar.uk/downloads
As of the publication time of this post, the latest version is v4.2.1 so that is what you want to look for. Here is the direct link for that if you can’t find it.
https://www.pistar.uk/downloads/Pi-Star_RPi_V4.2.1_17-Feb-2024.zip
Once you have that downloaded you’ll need to extract the files from the zip file. On a Mac you can double click the zip file and it automatically extracts the files. If you’re using Windows, you can right click on the zip file and select Extract All and then Extract.
Etcher
Next we need to write the Pi-Star software to the microSD card. I use a free program called Etcher which is available for Mac, Windows and Linux systems.
Once you have that downloaded and installed, plug in your microSD card to your card reader. Open the Etcher software, choose Flash from file. Navigate to wherever you extracted the Pi-Star IMG file and select the file and click Open.
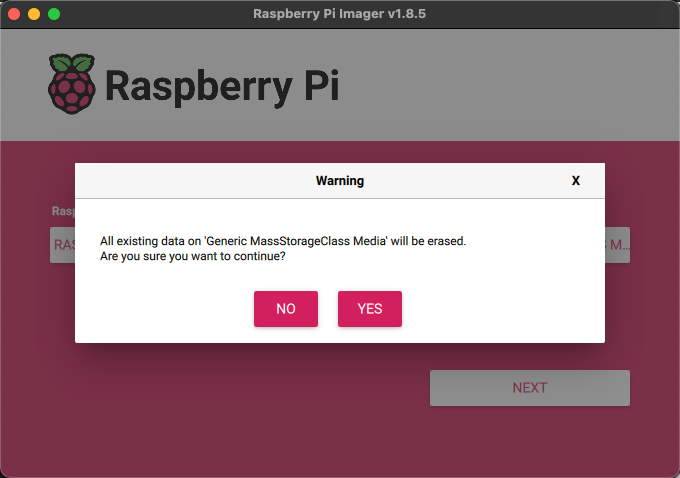
Next you click on Select target and pick the correct drive that has your microSD card in it. Usually it will say something like Generic MassStorageClass Media as well as showing you the size of the card. Make sure you choose the correct one and not any other drives on your system. Etcher is pretty good about telling you if it’s a system drive or a large drive which probably means that’s not the one you want to be installing Pi-Star on.
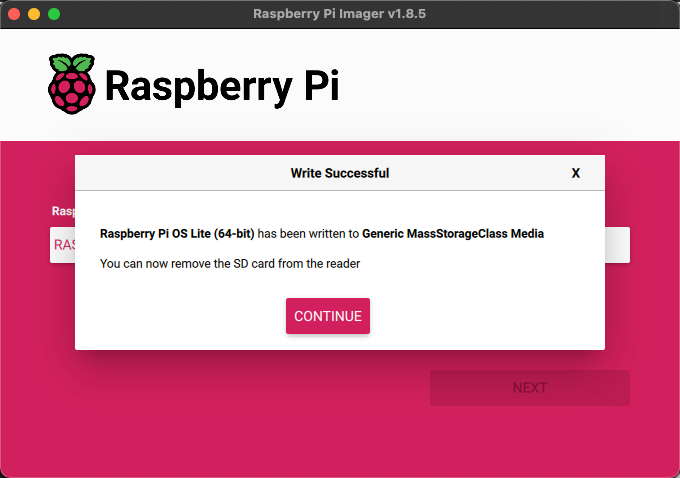
Once you have the target selected, click Flash to write the image to the card. If you’re on a Mac it may ask for a password as well as permission to access files on a removable volume. Go ahead and allow that to proceed.
Depending on the speed of your card and card reader, it may take a few minutes to write the image.
Once it has finished writing the image it should show Successful target with a green checkmark, If you are going to be using the Raspberry Pi on WiFi, then there’s an additional step we need to do before removing it from the card reader. If you will be using this plugged into a network cable, then you can skip this next step.
Back on the Pi-Star website, we need to visit the Wifi Builder section.
https://www.pistar.uk/wifi_builder.php
This creates a special file with your WiFi credentials that will tell the Pi how to connect to your WiFi router. Select your country code and then enter your WiFi name (SSID) and the password (PSK) and click submit. It will download a wpa_supplicant.conf file that you will drop onto the main folder of the Boot volume of the SD card. Once you’ve done that you can eject the microSD card from your card reader (Mac folks need to click the eject icon) and then insert it into the Raspberry Pi.
Plug in the power to the Raspberry Pi and wait about 2-3 minutes. If everything was successful, you should be able to connect to the following address in your web browser.
If you got this far, it should take you to the configuration screen after a 10 second waiting period. It will then ask for a username and password which I have listed below.
username: pi-star
password: raspberry
Once you are on the configuration screen, the first thing to do is to change the Controller software to DStarRepeater and click Apply Changes. You’ll see a pop-up warning that says: “The modem selection has been updated, please re-select your modem from the list.” Click ok to dismiss the warning and we will deal with this shortly.
Next you will need to input your details. The main things you should focus on are callsign, system time zone and dashboard language. Once you have those items updates, click the Apply Changes button to save them.
In the D-Star configuration section, verify it has updated the RPT1 and RPT2 callsigns with your callsign that you entered in the previous step. I would also recommend changing the ircDDBgateway language to match whatever yours is. For me I chose English_(US). Click Apply Changes to save.
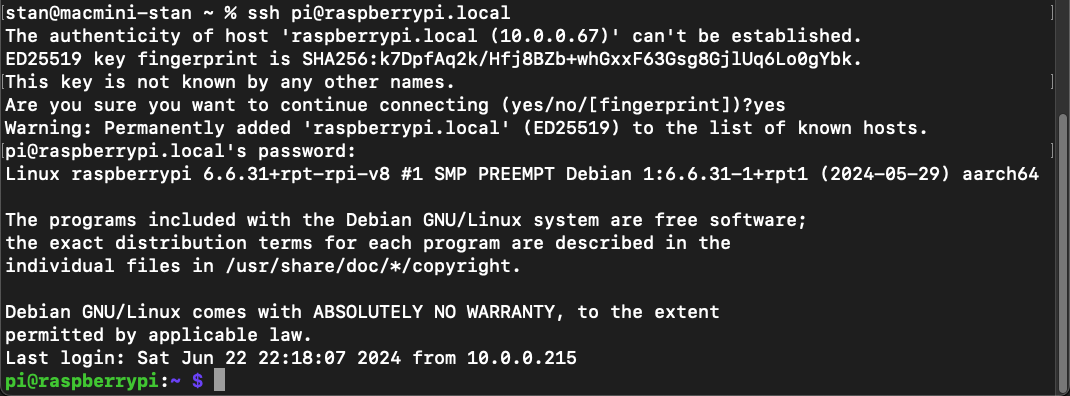
Next we need to select the radio modem. However, the Icom 705 doesn’t show up on this list by default. We need to manually add it to the list. Click the Expert option in the Pi-Star menu. Then click SSH access. This will bring up a pi-star prompt where you can login with the same credentials as you used before.
Once you are logged in you’ll notice towards the bottom that the disk is set to read-only by default. We need to switch it to read-write so we can add the 705 to the modem list. At the prompt, type in the following command.
sudo rpi-rwYou’ll notice that the prompt changes from pi-star@pi-star(ro) to pi-star@pi-star(rw) which shows it is now in read-write mode.
Next we need to edit a file to add the Icom 705 details to. Huge thanks to DH4FR-Frank for sharing his knowledge on how to do this.
At the prompt, type in the following command and press enter.
sudo nano /etc/udev/rules.d/100-pistar.rulesDelete everything in the file by pressing CTRL-K until everything is gone. Copy the text below and then right click on your terminal window in the Pi-Star window and select paste from browser. It will pop up a window and you will paste the text below into the window and hit ok.
#Added for IC-705
KERNEL=="ttyACM[12345]", SUBSYSTEM=="tty", ATTRS{idVendor}=="0c26", ATTRS{idProduct}=="0036", SYMLINK+="icom_ta"
KERNEL=="ttyACM[12345]", SUBSYSTEM=="tty", ATTRS{idVendor}=="0c26", ATTRS{idProduct}=="0036", ACTION=="add", RUN+="/bin/systemctl restart dstarrepeater"
Do a CTRL-X, then Y and then hit enter when it asks for a file name. This will save our changes to the file.
Back at the prompt, change it back to read only mode with the following command.
sudo rpi-roNow before we reboot the Pi to load our changes, I recommend plugging in your Icom 705 to the Raspberry Pi with the USB cable and turning on the 705. Once you’ve done that, type in the command below to reboot the Pi.
sudo rebootGive it a minute and then try loading the website again.
When you login, click the configuration tab at the top. In the Radio/Modem Type, click the dropdown box and select the following entry which should be at the top.
Icom Radio in Terminal Mode (DStarRepeater Only)
Click Apply Changes to save the settings.
Icom 705
On the Icom 705, we need to make sure the callsign is configured. Click the Menu button, Set and then My Station. Enter your callsign on the left side of the slash. There are 4 spaces available on the right side of the slash. I usually just put in my radio model like 705 on that side.
Next tap the Menu button, the #2 and then DV GW. Under Gateway Select, select External Gateway USB B. Then click Terminal Mode at the top of that menu to enable the mode.
In the TO field, tap the box to the right and then select Reflector, Link to Reflector and then Direct Input. For testing purposes, try REF001 E and tap Set. Now if you briefly key the microphone, it should connect to that reflector and you should hear a voice saying Linked to R E F, 0, 0, 1, E.
If you don’t hear anything, try unplugging the USB cable between the 705 and the Pi and plug it back in. Then disable and enable terminal mode as we did before. Then try keying the microphone again to see if it has linked to the reflector.
Once you are linked, try testing your audio to make sure everything is working. Choose Reflector, Echo Test and key the mic and say your call and testing and then a few seconds later it should come back with your voice. Pretty cool! This usually works on most reflectors as long as you connect to module E so if REF001 is busy or not working, try a different one.
Next try connecting to a different module than E and see if you can talk to someone. Tap the box to the right of the TO field, choose Reflector, Link to Reflector and pick something like REF001C or REF030C which are both fairly popular reflectors. Once that is linked, tap the box next to the TO box, choose Reflector and then Use Reflector. It should then show CQCQCQ in the box. Now key the mic and announce your callsign and ask if anyone is around for a chat.
When you are done using the reflector, tap the box next to the TO field, select Reflector, Unlink Reflector and then key the microphone and it will disconnect you from that reflector. You should hear a voice that says Not Linked.
You can also change reflectors from the Pi-Star dashboard. On the admin page, look for the D-Star Link Manager. Under Reflector, you can click the dropdown box and either scroll through till you find the reflector you want or use the text entry option to type in your reflector number. Don’t forget to click the dropdown next to it and change the module to the appropriate one. Then click Request Change to connect to the reflector. Using this method may be useful when there’s a net or a lot of traffic on the reflector and you can’t get your radio to unlink.
You’re probably wondering at this point how you find which reflectors are active. There’s a couple of options.
D-STAR last heard
This shows the latest people connected to various reflectors or repeaters and which ones they’ve connected to. If you see the same ones listed close together it might be an indication that the reflector is active.
N5VLZ’s net spreadsheets
Darryl-N5VLZ has fairly updated spreadsheets in various time zones of D-STAR and Echolink nets. They are much more accurate than the ones you find on the D-STAR Info website.
If you’ve made it this far, let me know if you succeeded in getting everything to work. If you have any questions, please leave a comment on this blog and I’ll do my best to help answer them. Thanks!